Article content:
Create events #
Once you have the complete list of events, you can start creating them within your shipment to have a fully traceable and visible activity. To do this, open the shipment you’re working on and click on one of the boxes where the event in question can be created.
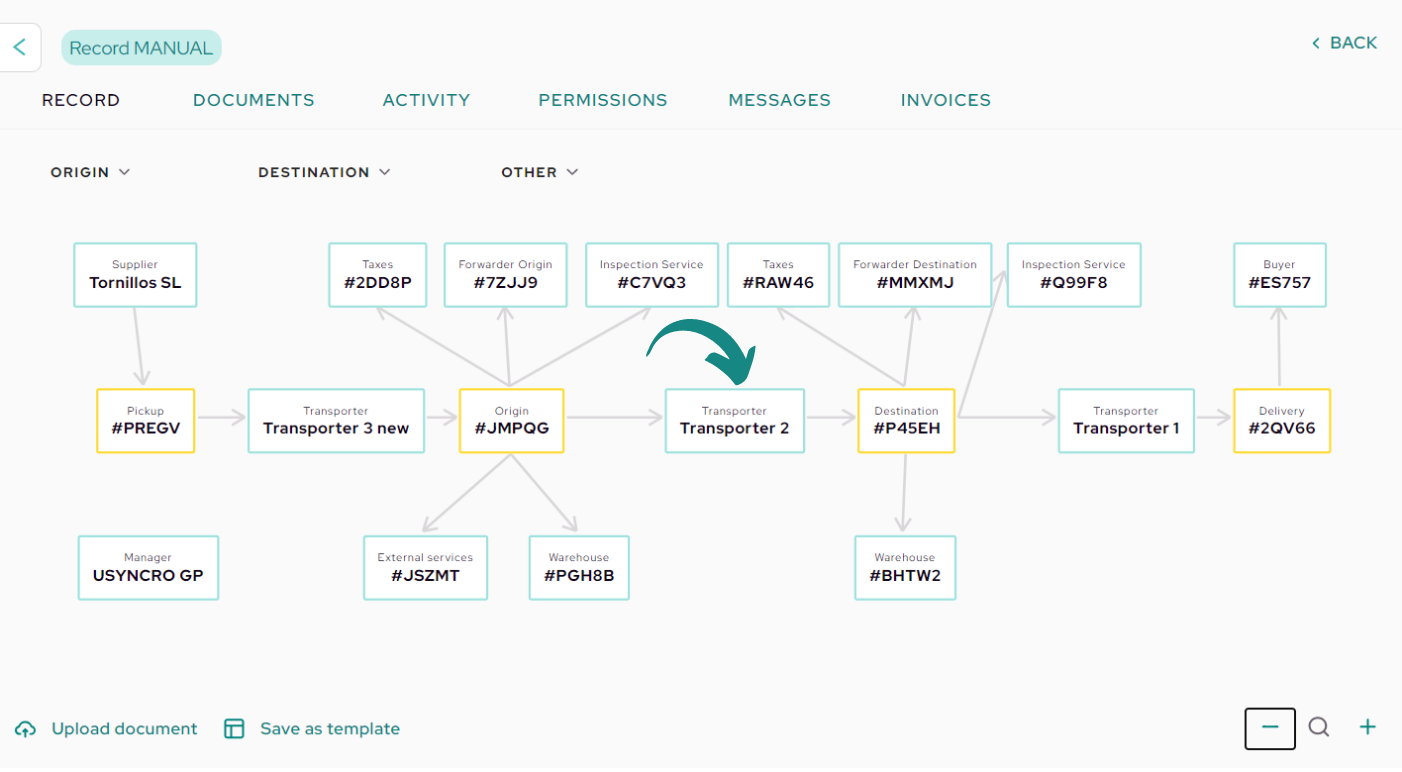
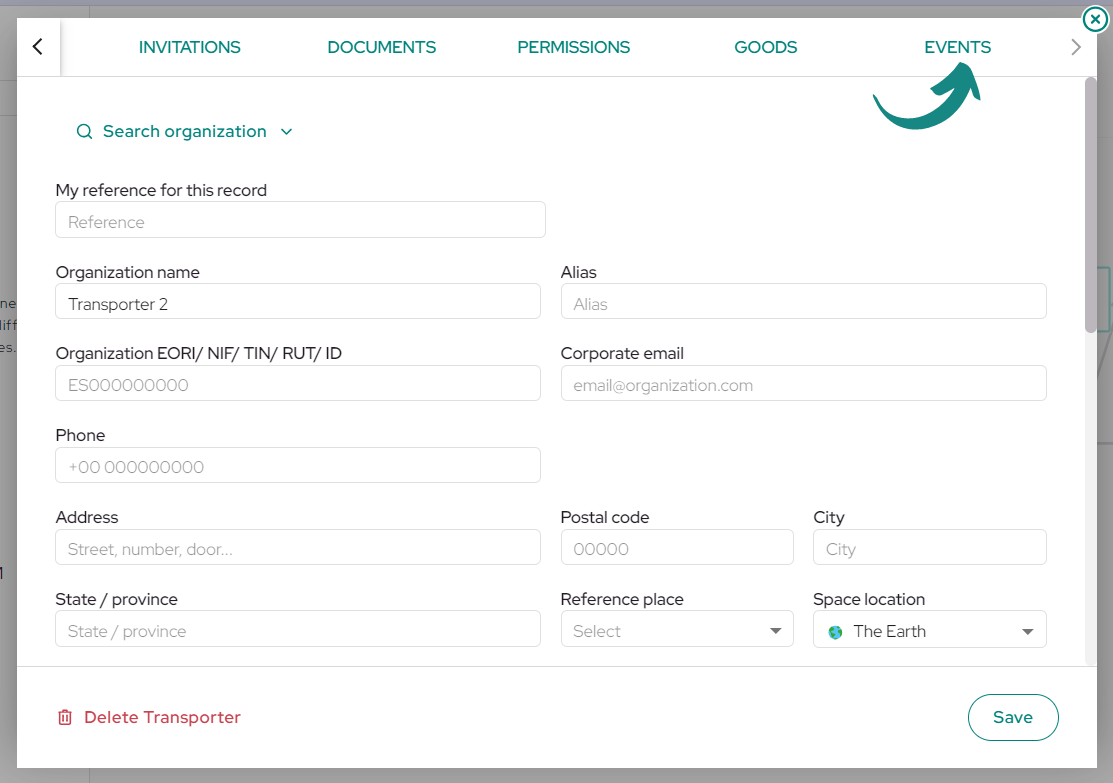
Inside the box, look for the «Events» tab at the top of the window and click on it.
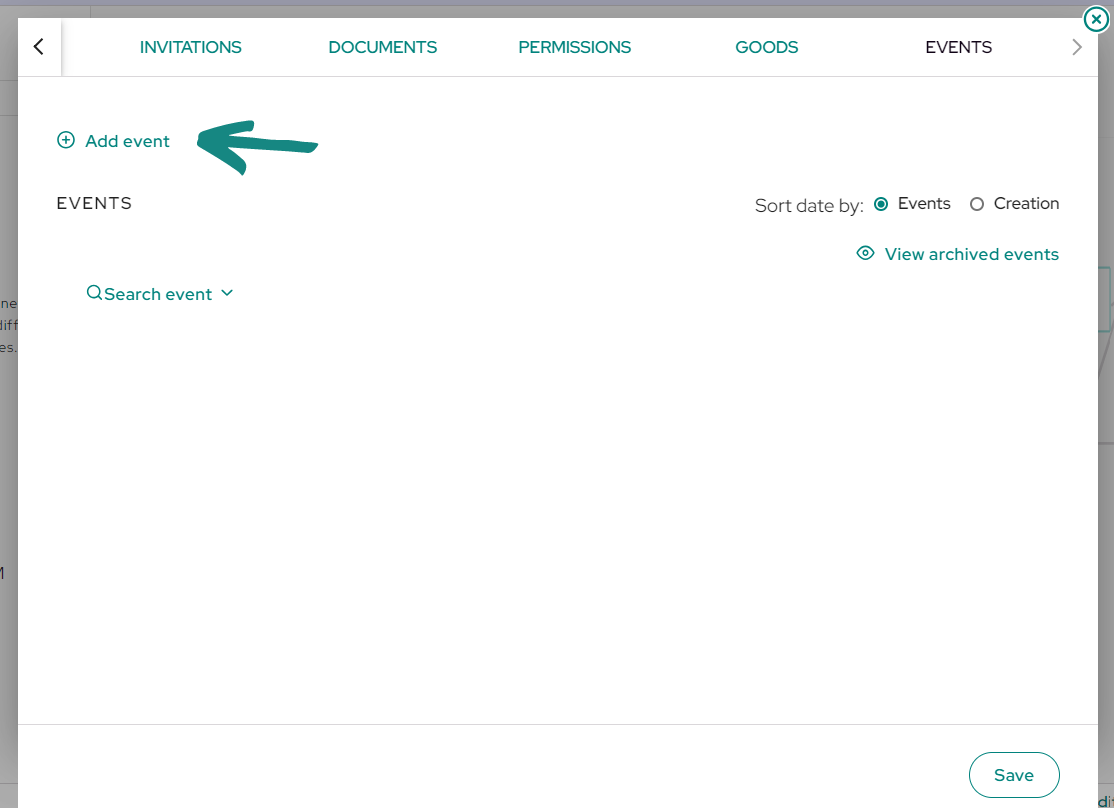
In this window, locate and click on the «Add Event» button to create the event (the person must have permissions to manage events for this box).
The following window will open, where you have to select and provide details for the event you are about to create. First, click on «Event Type» and select the name of the event you want to create from the drop-down menu. To the right of this field, you can indicate if this event is considered an «Incident» or not for special identification.
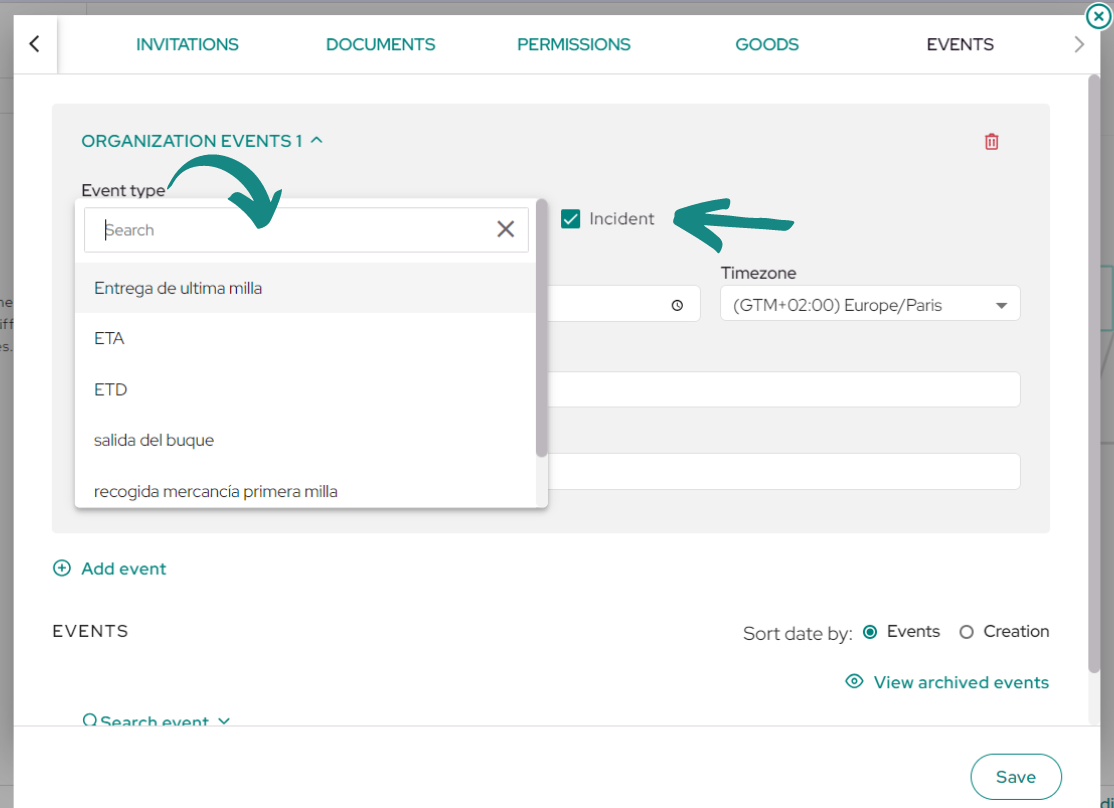
Events will have two dates: the creation date, which is generated upon saving, and the actual date. You need to enter the actual date in the «Date» and «Time» fields, indicating the real moment it occurred.
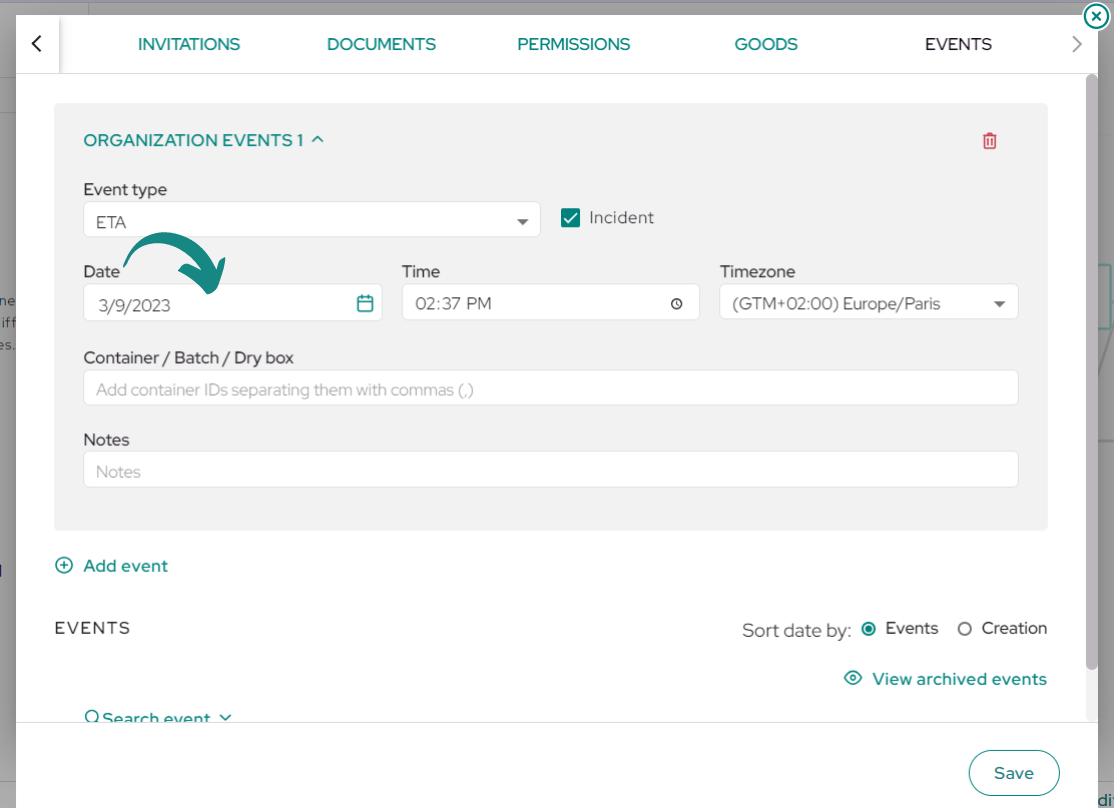
In the last two fields, you can associate the event with a container, batch, dry box, etc., and a «Notes» section to provide details about the event.
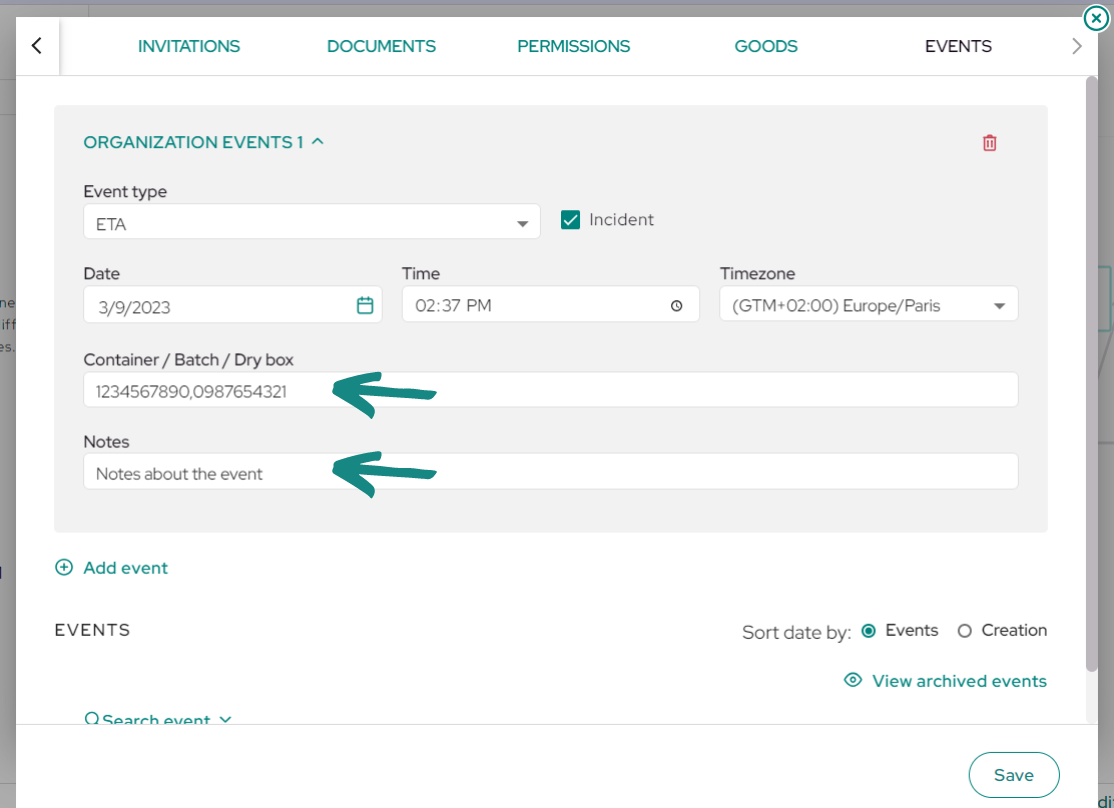
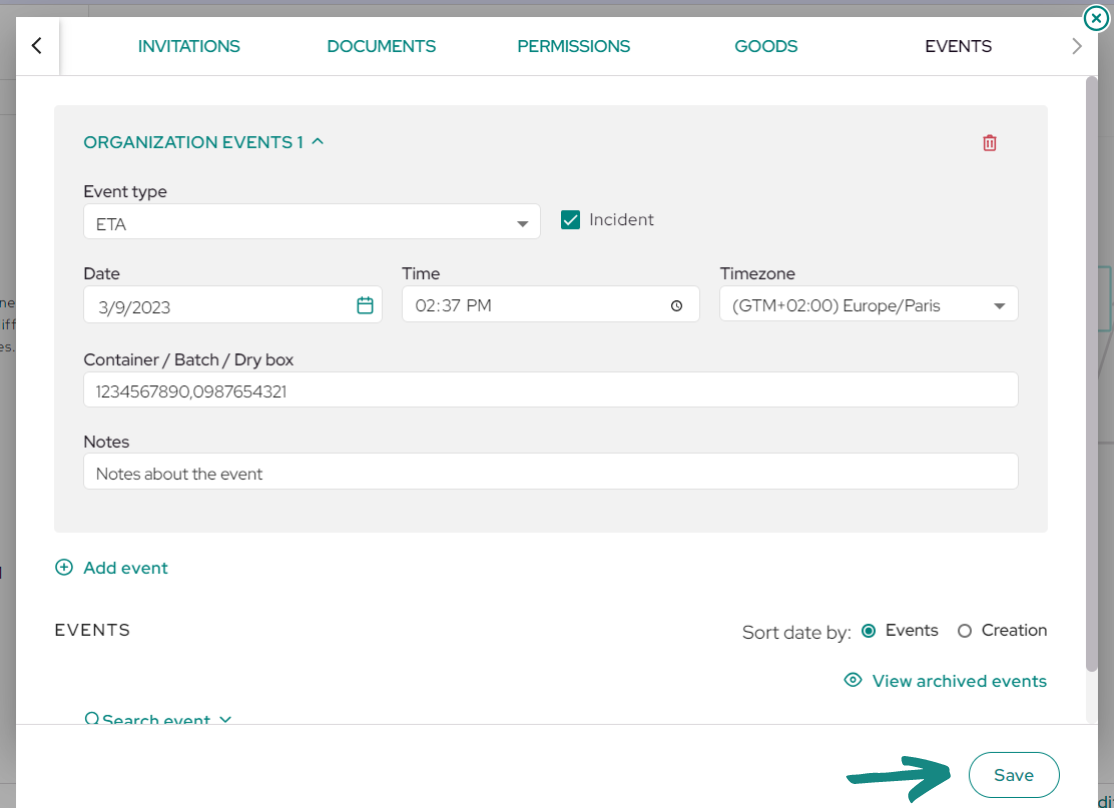
Once you have entered all the event information, make sure to click «Save» to register it.
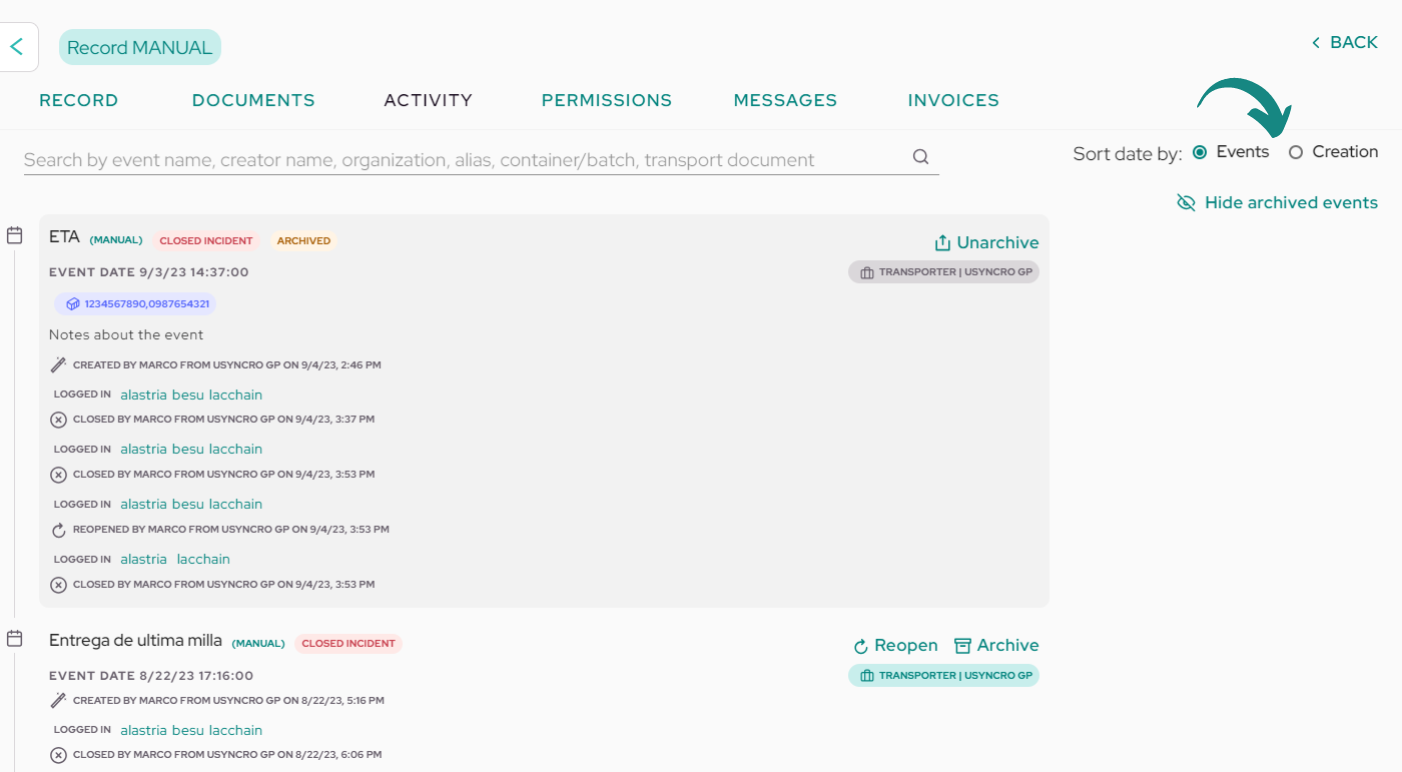
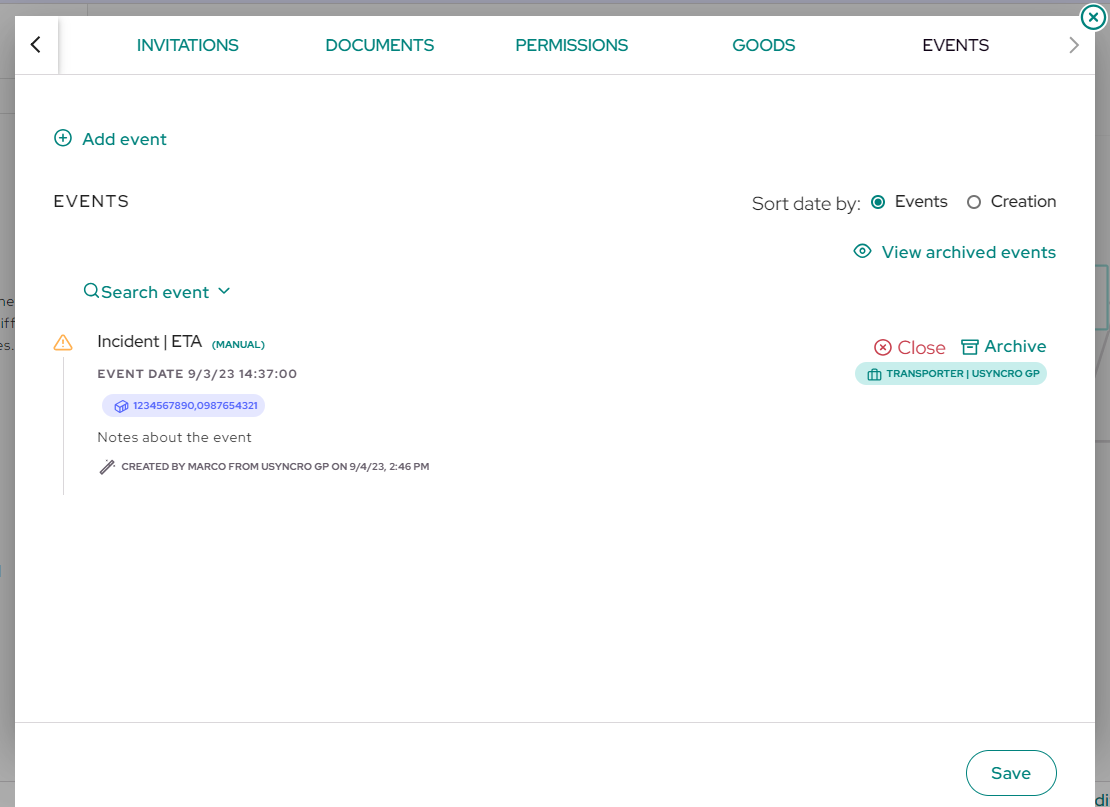
Upon completion, you will see the created event in the same section, along with all subsequent events, arranged in a timeline, as shown in the image. Repeat this process for all the events you want to manage.
View shipping activity/events #
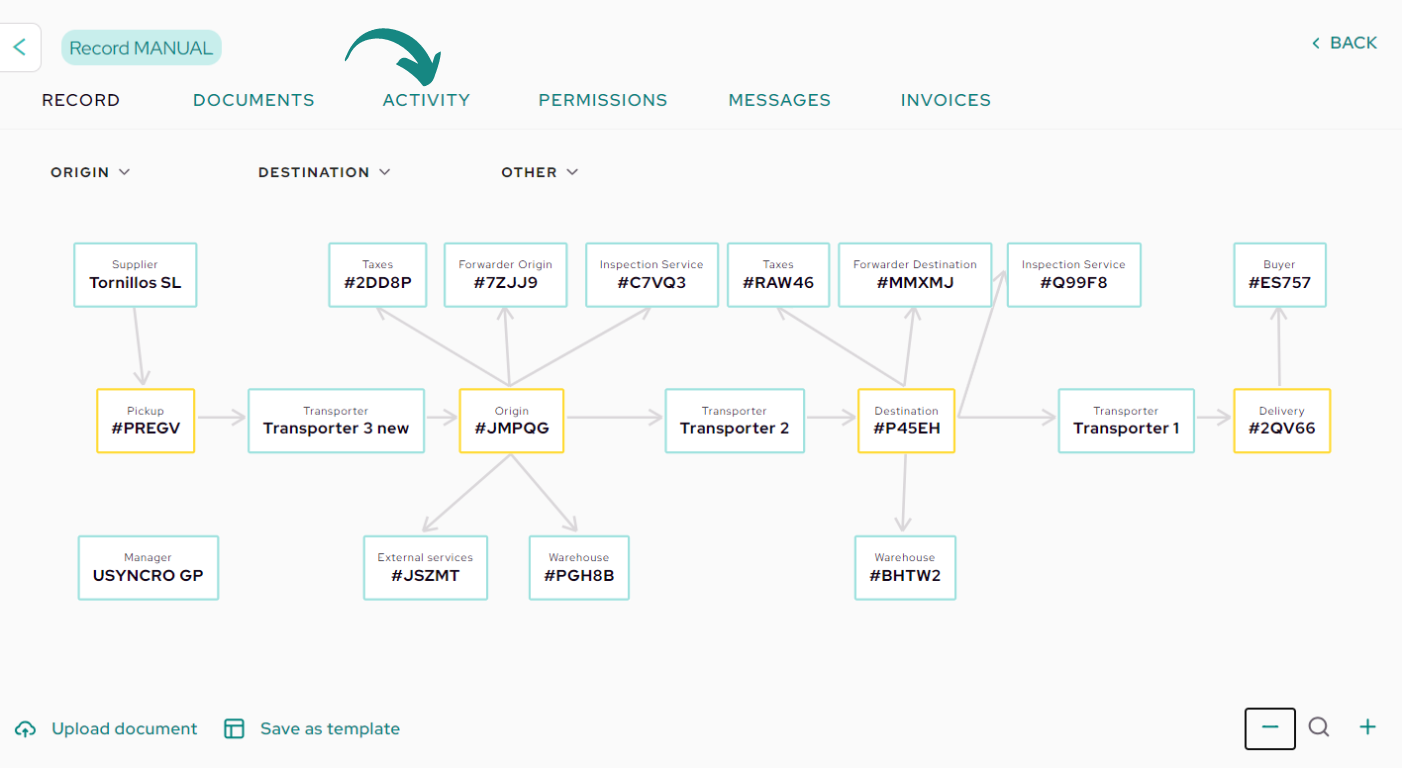
From the moment the first event is created, you can track and view them in a timeline format so that participants are aware of the shipment’s status. To do this, locate and click on the «Activity» tab at the top.
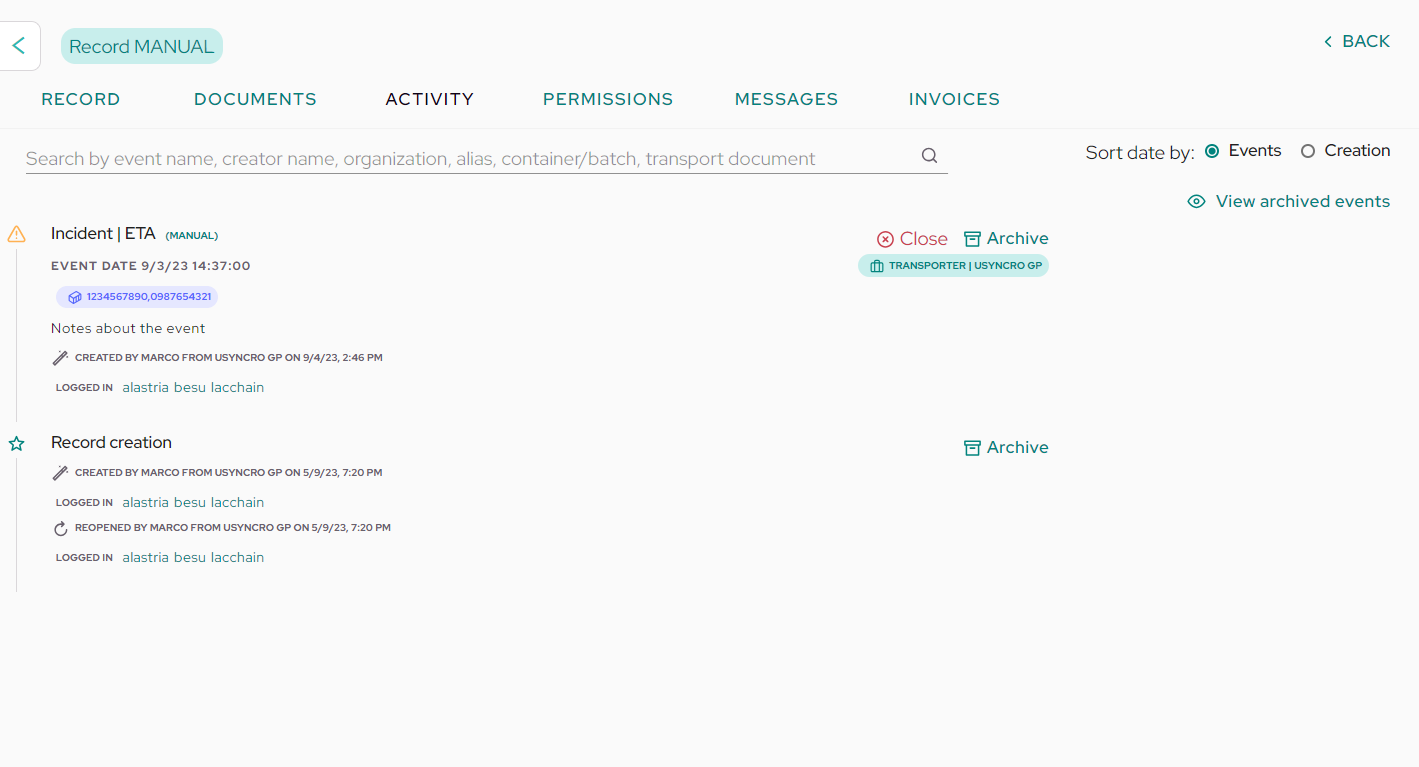
In this window, you will see the timeline with all the events created so far. You will see the name of each event along with its details, such as the creator’s name. It will also be indicated whether the event is considered an incident or not.
Regarding incidents, you can open and close them at any time by clicking «Close«.
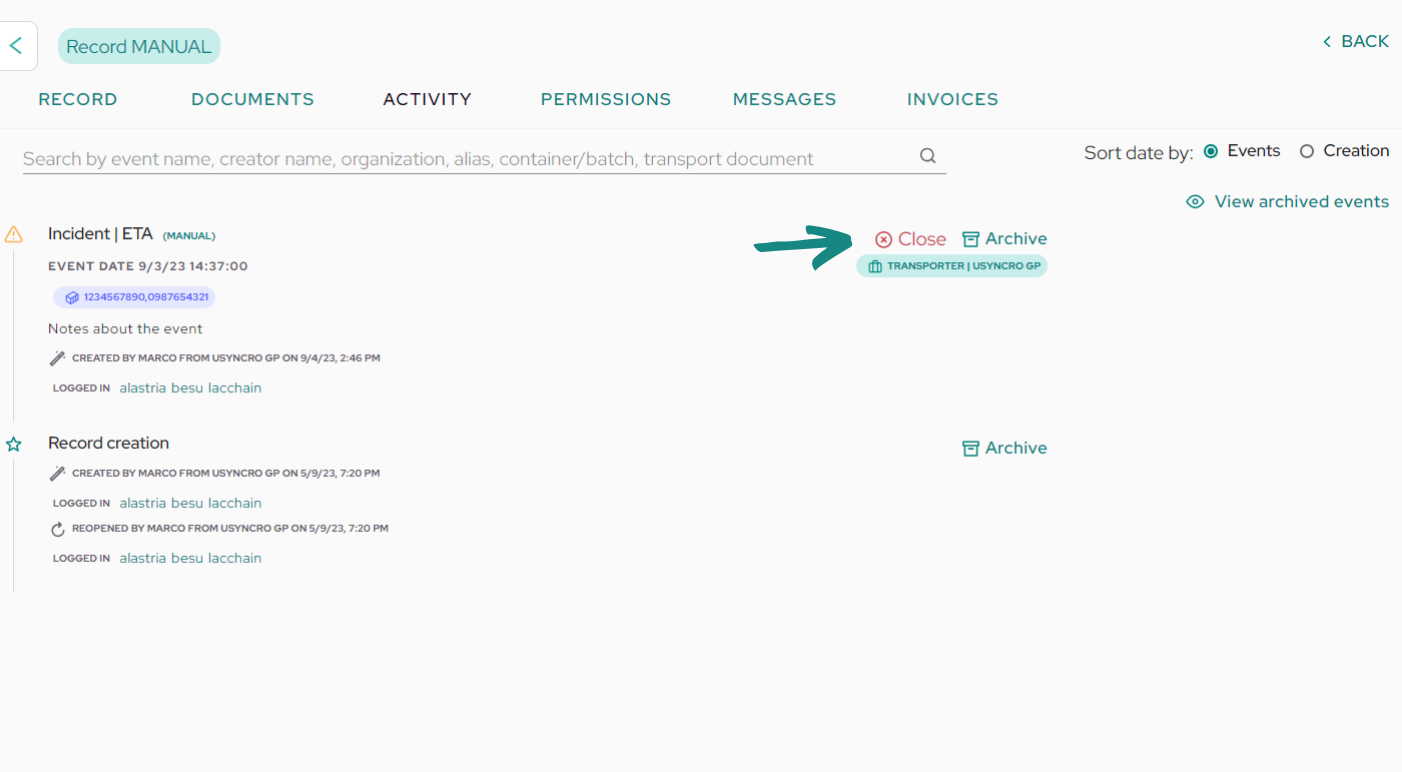
When closed, you will see a change in the event’s text indicating that the incident has been closed, and at the bottom, it will record each time it was opened or closed.
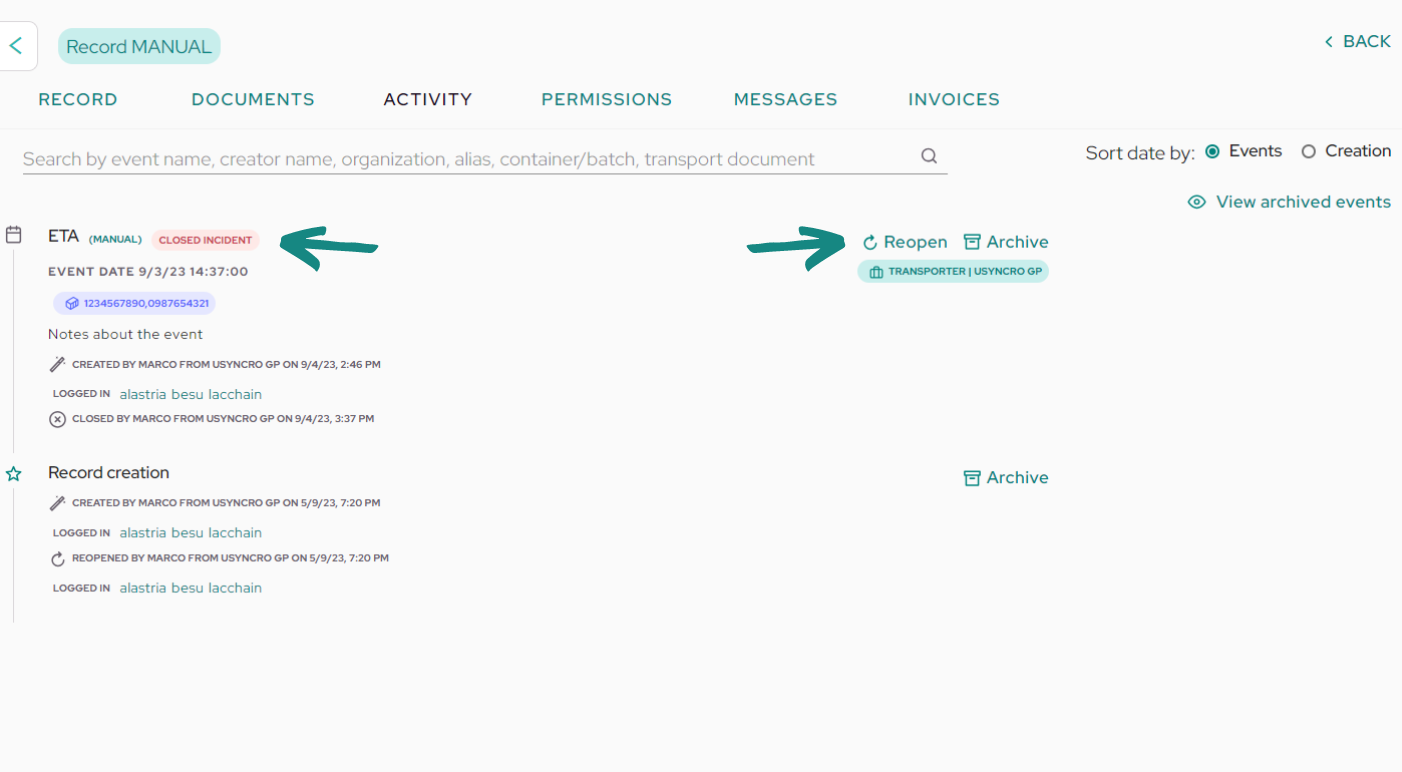
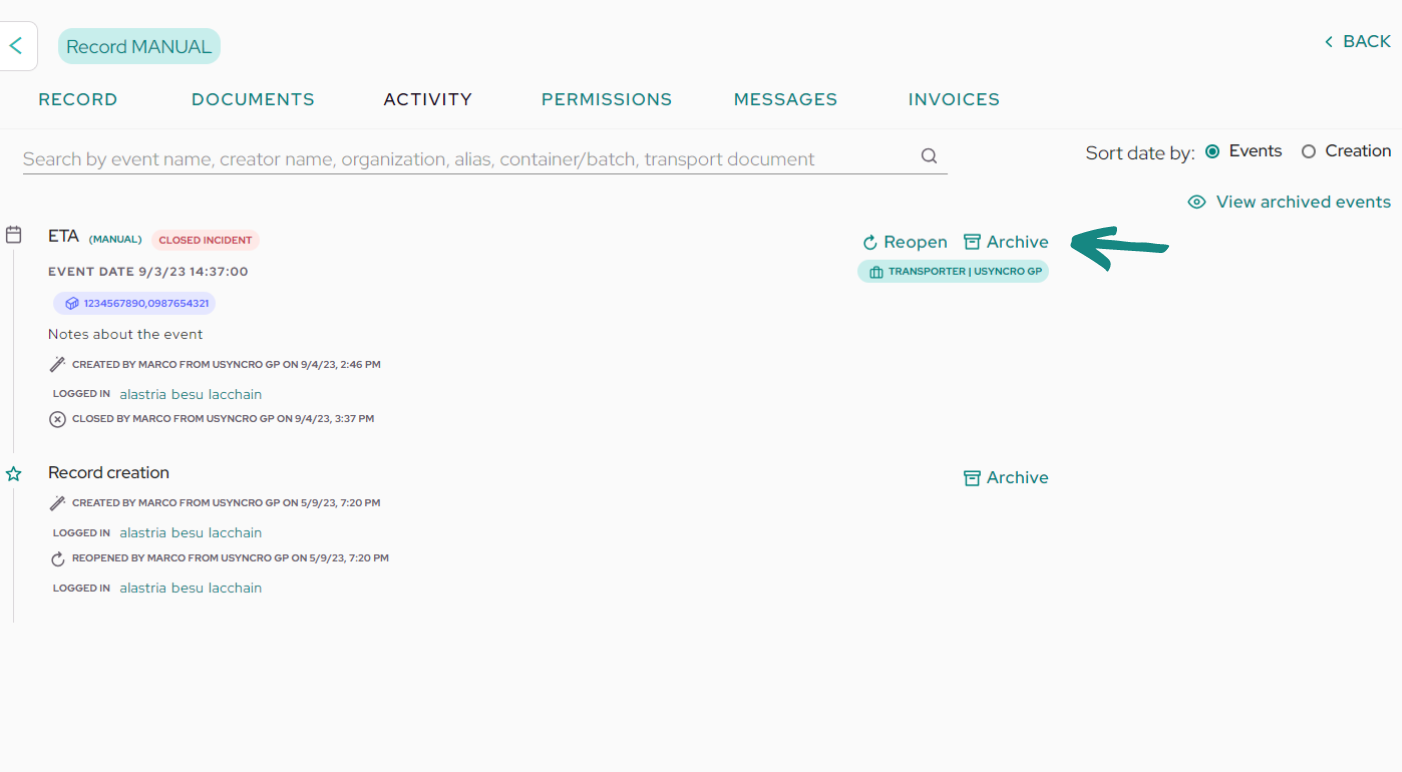
If you don’t want one of the created events to be visible (such as a closed incident), you need to click «Archive«.
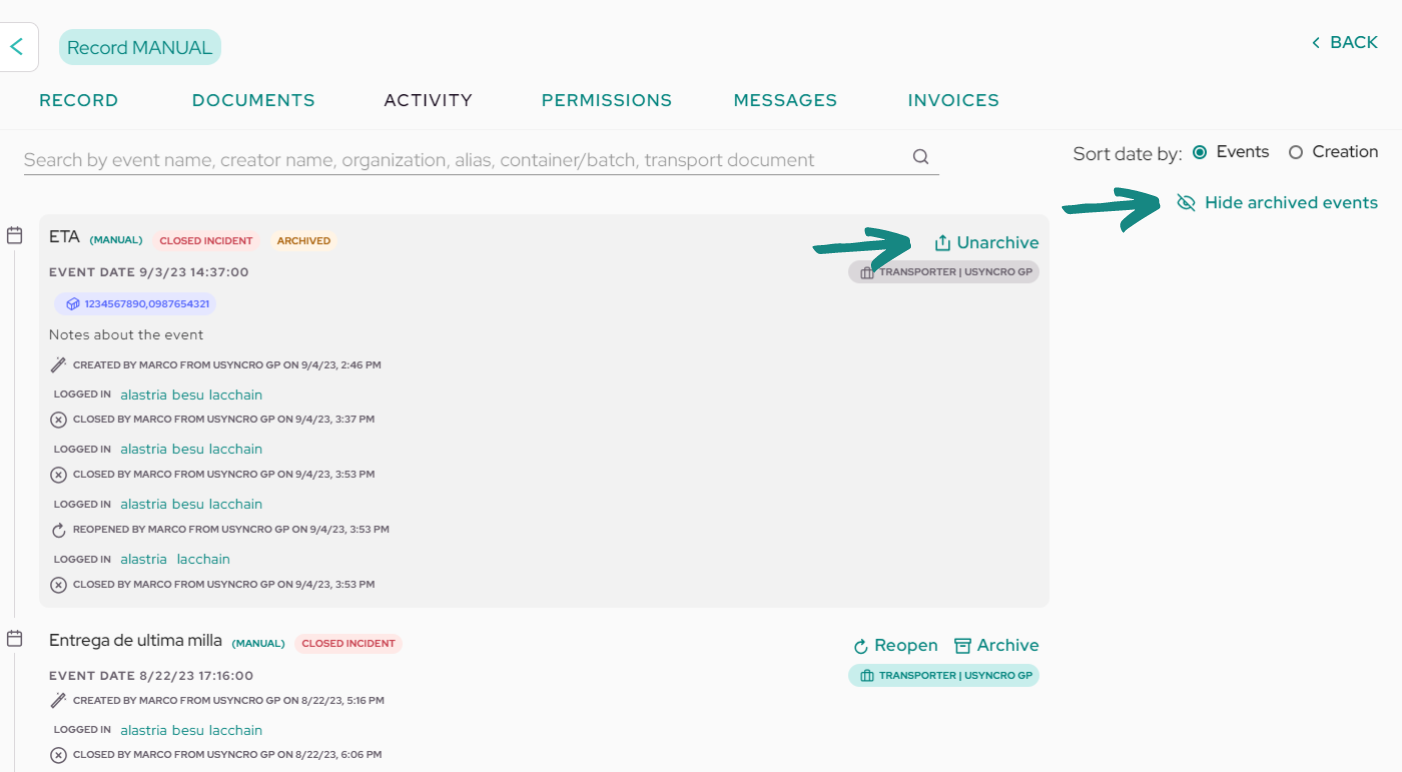
Afterward, the event will be highlighted in gray, indicating that it is archived. To stop it from being shown in the timeline, click on «Hide archived events» in the top right corner.
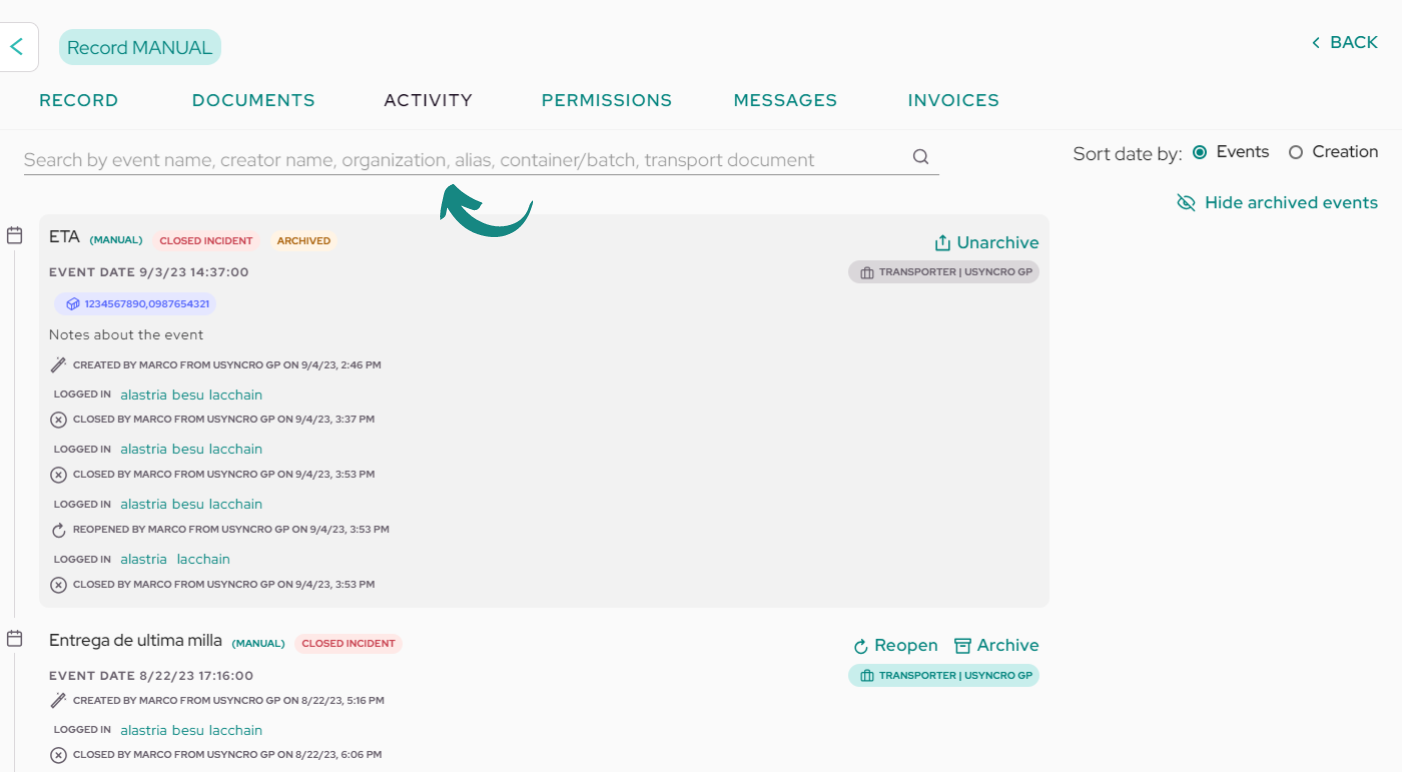
At the top, there is a search bar where you can search for events by their name in case there are many.
You can also sort the timeline by dates, either by «Creation» or «Event,» as seen in the buttons at the top right. Sorting by «Creation» will order the events by the date they were created in USYNCRO, and sorting by «Event» will order them by the actual date they occurred, which is entered when creating them.