
REMEMBER!
In case you have a custom plan that has already been agreed you will have to enter a special link to make your registration which has a code to recognize the plan in question. example of the link: https://sandbox.myecustoms.com/onboarding?promotional_code=ENT
The process will be done in the same way, as a normal registration, but the personalized plan associated to your link will be auto-selected.
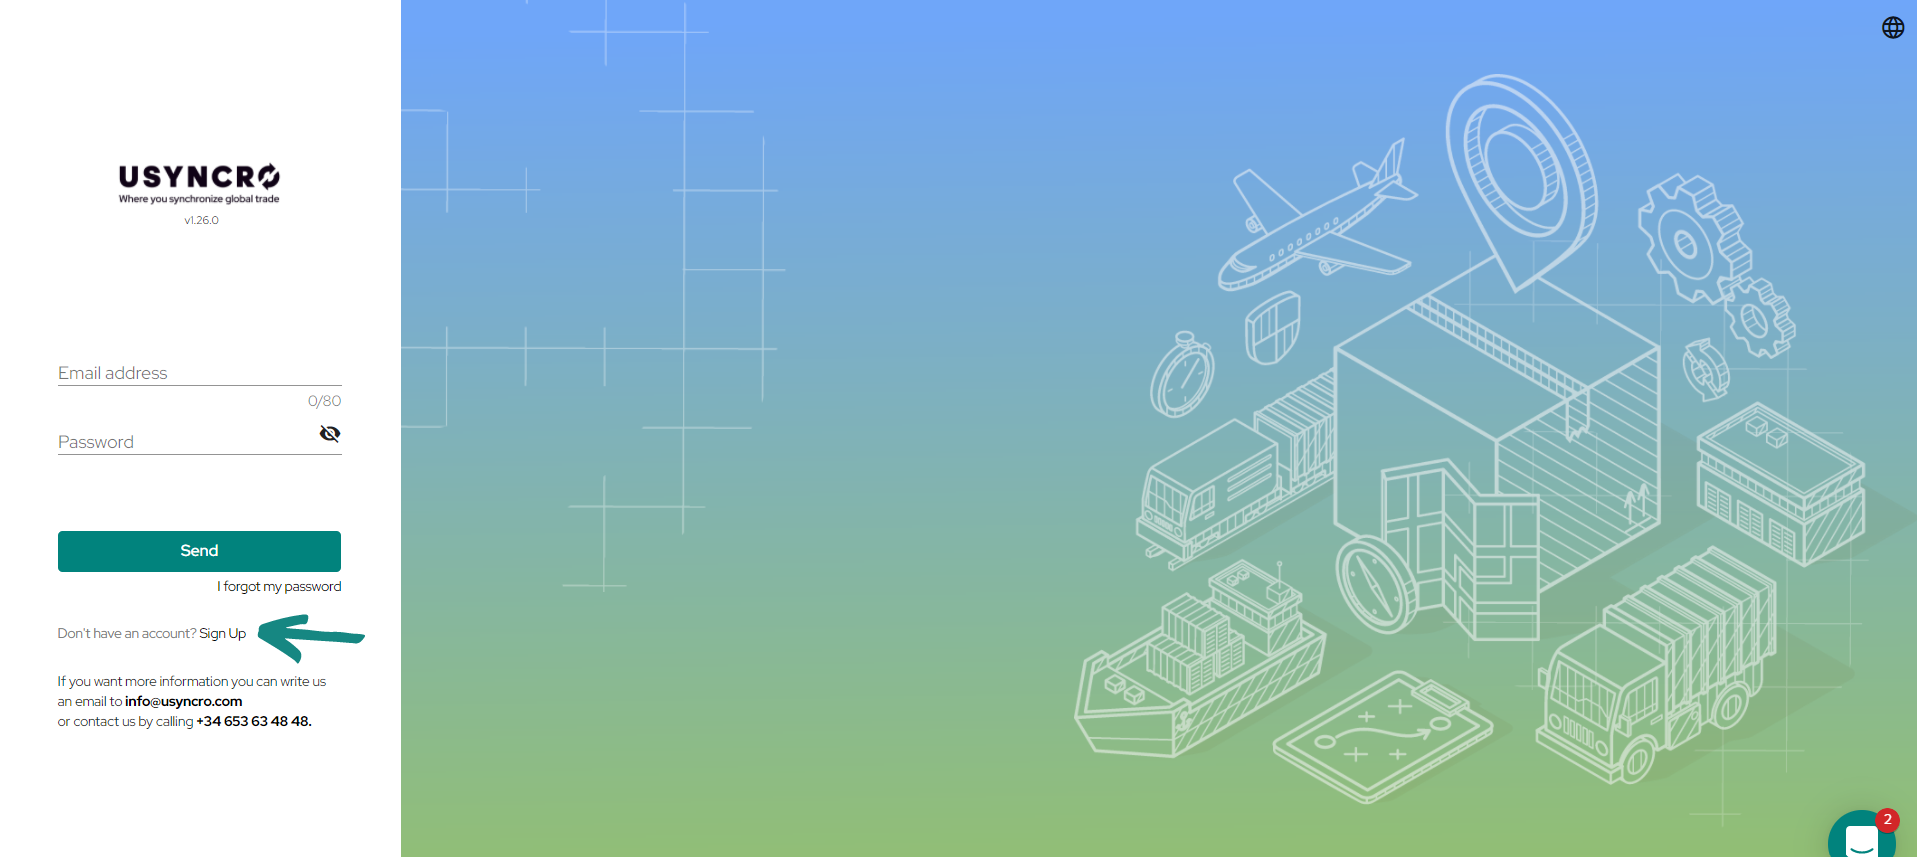
If you have already registered in the platform before, you can log in by entering your email and password.
If you have not yet registered, you can start the process by clicking on the ¨SingUp¨ button shown in the image:
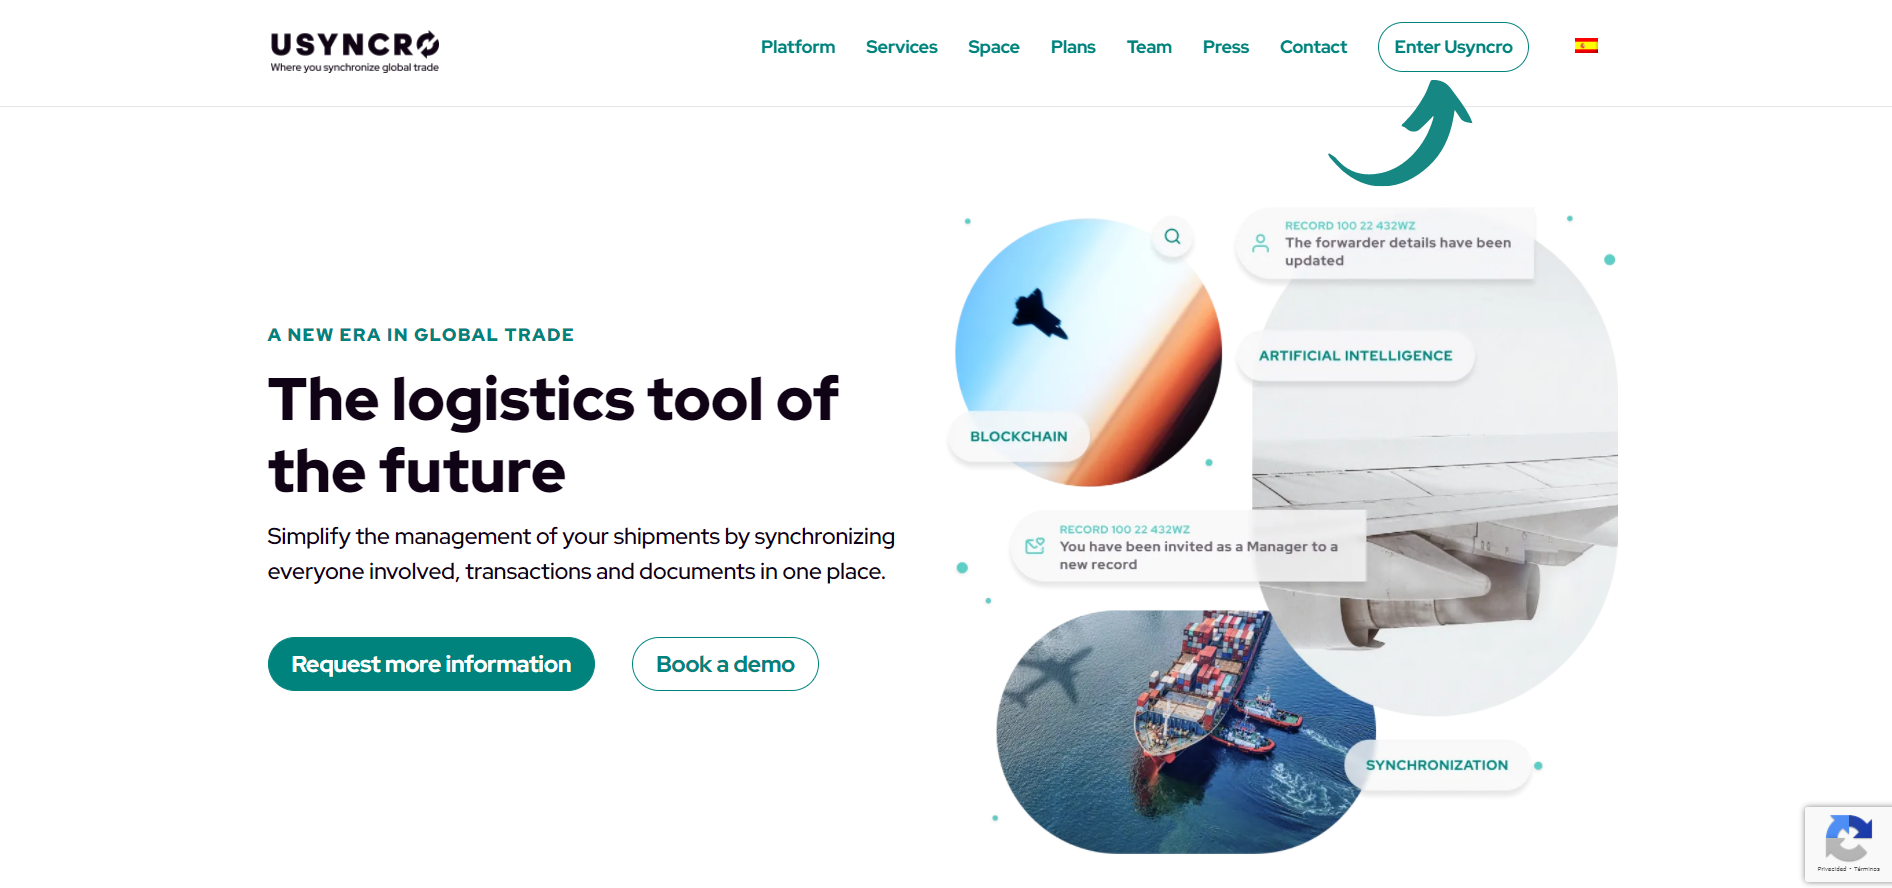
From the platform’s home screen you will have a quick access button to register, called ¨Enter Usyncro¨, and by clicking on it you can start the registration process.
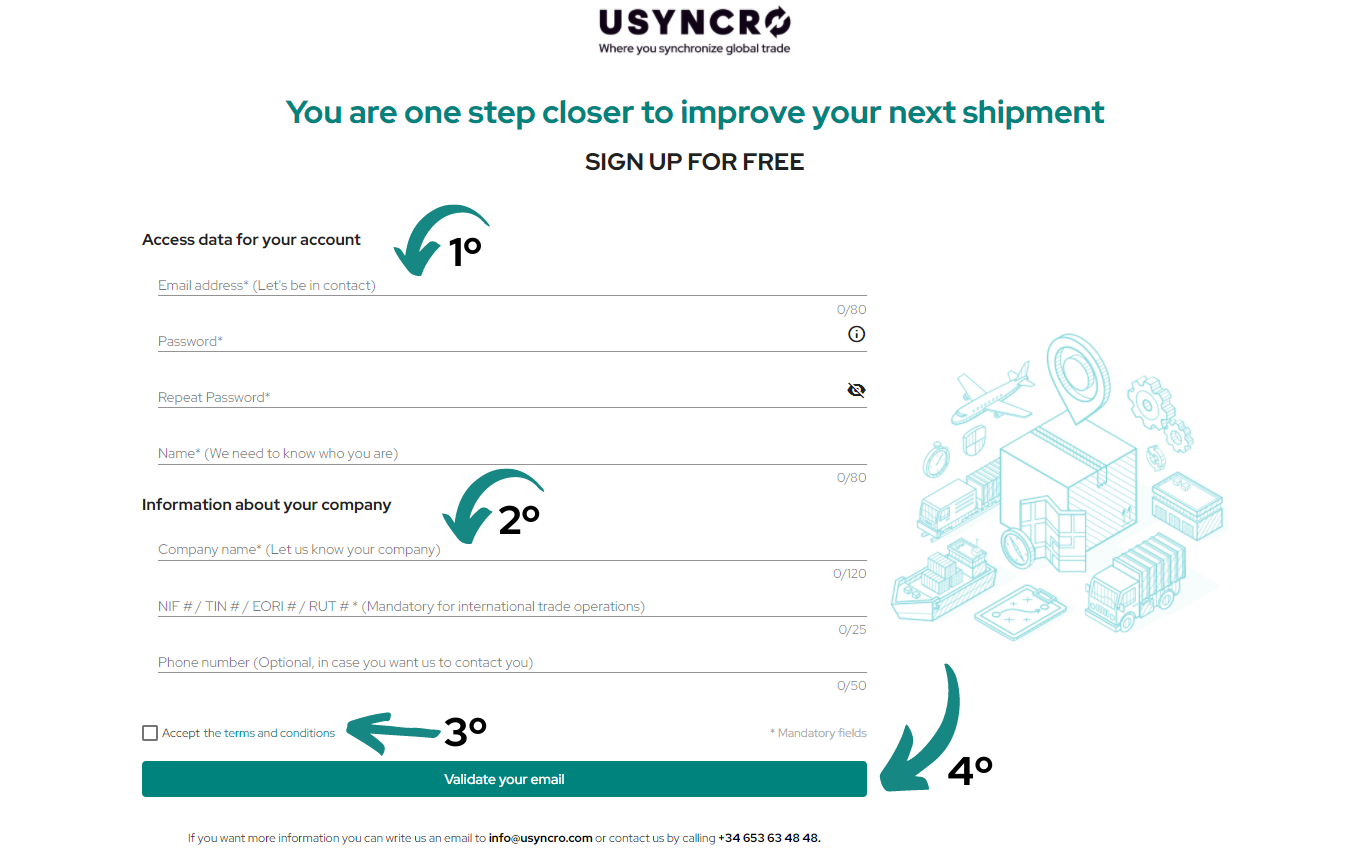
Once the registration window is displayed, follow the steps to enter the requested data:
-
Fill in the 4 mandatory fields of ¨Access data for your account¨ (email, password with its repetition and user name).
-
Fill in the «Information about your company» fields (mandatory: company name and VAT number; optional: telephone number).
-
Read and accept the terms and conditions of the platform
-
Click on «Validate your email» to receive the confirmation email and start your account.
If necessary, some of the registration data such as password may be changed in the future after registration.
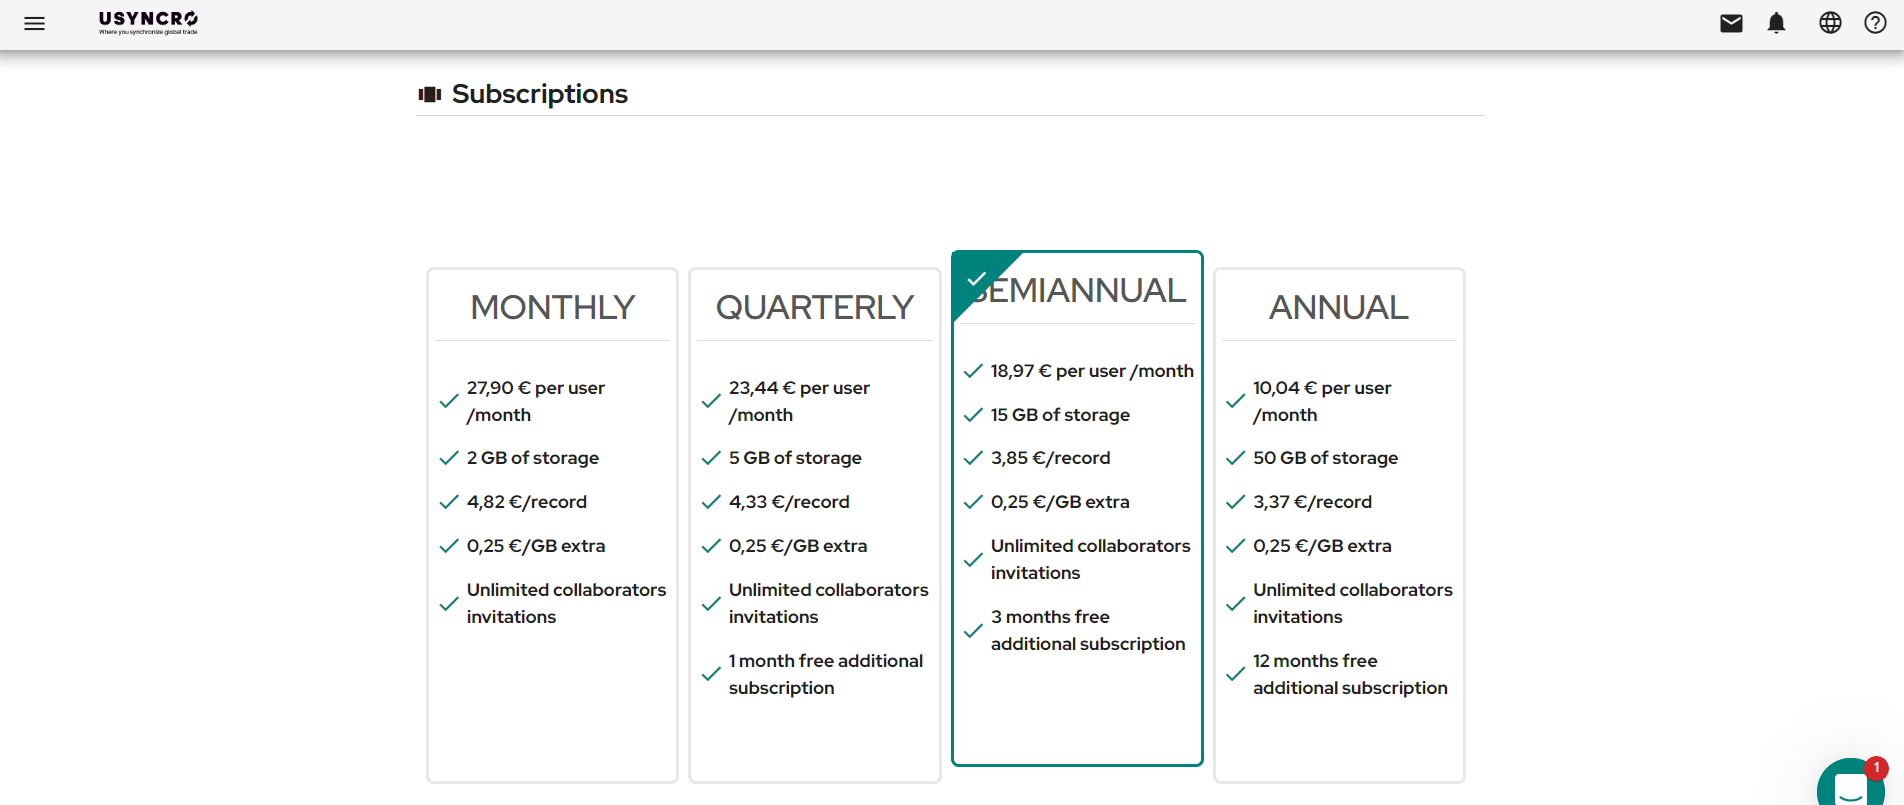
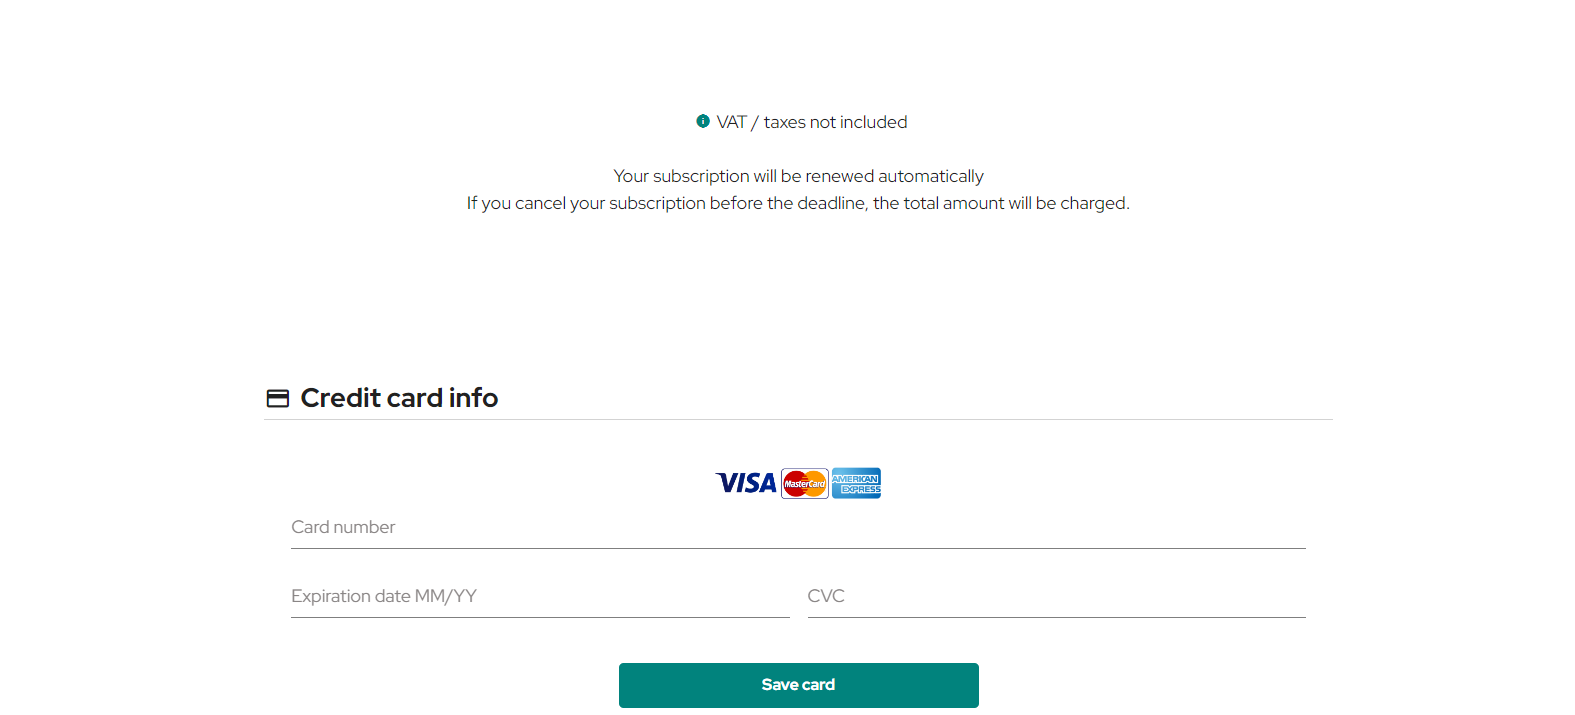
You will then be redirected to the next window, where you will be able to choose the plan you wish to opt for, as long as you have added your payment details at the bottom, along with your billing details.
In the following image you can see the confirmation email you will receive after the registration process. Click on «Confirm e-mail» to start using USYNCRO.
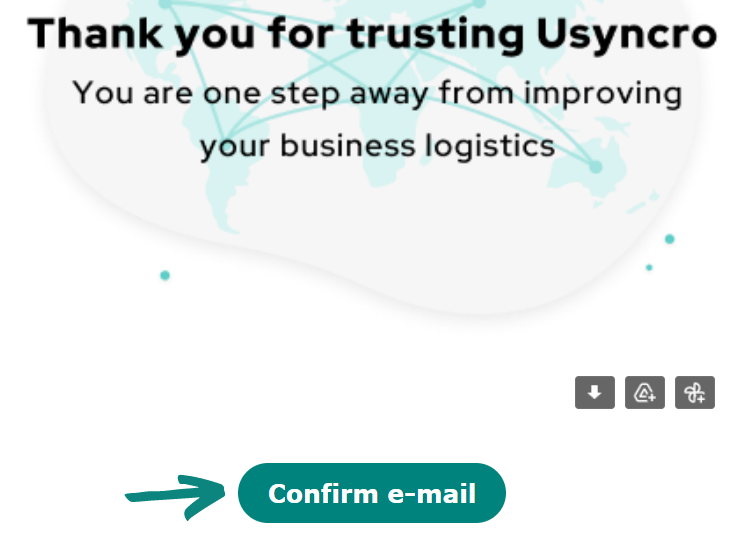
If for some reason you did not receive the email shown above, please check your Spam folder or click on ¨Resend validation email¨. The message will appear in a new window after you have included your billing information.
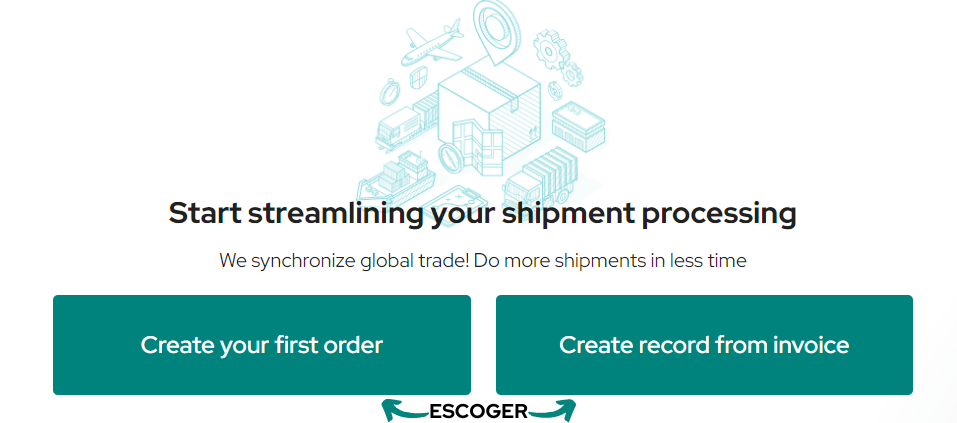
Once you have confirmed the validation email, the following window will open, and you will be able to select how you want to start your first operation:
-
Left: create from 0.
-
Right: create record from an invoice (the Artificial Intelligence will read and complete the data provided in the invoice).
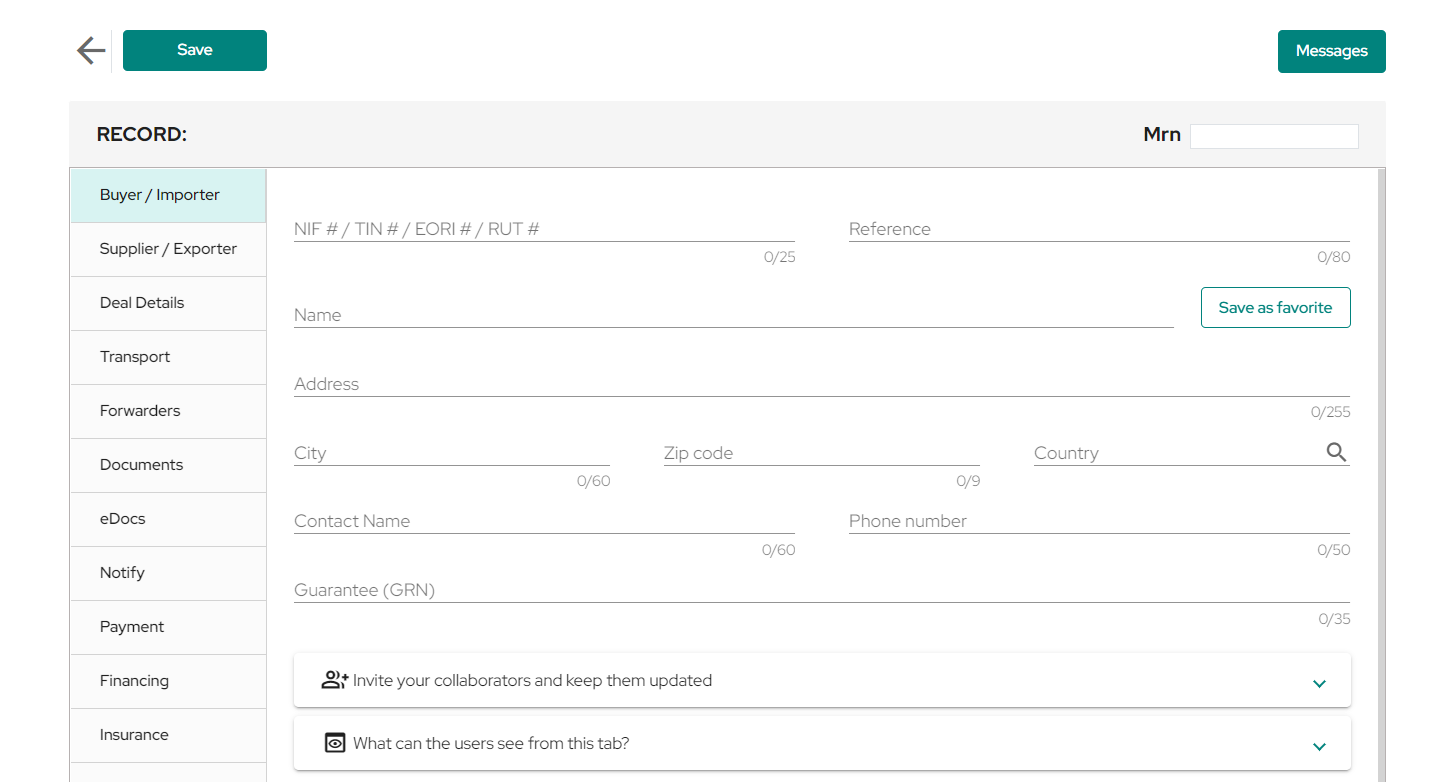
If you selected the option: «Create your first record«, an empty record will be automatically created so that you can start filling in the relevant data and documents. Save the shipment so you can go back to set up your account.
From now on you can start managing your logistic operations digitally. If you want to know how to manage your records you can visit the following article: Steps to manage your shipments.


